Table of contents
How to Create an Authentication Page with HTML, CSS, and JavaScript
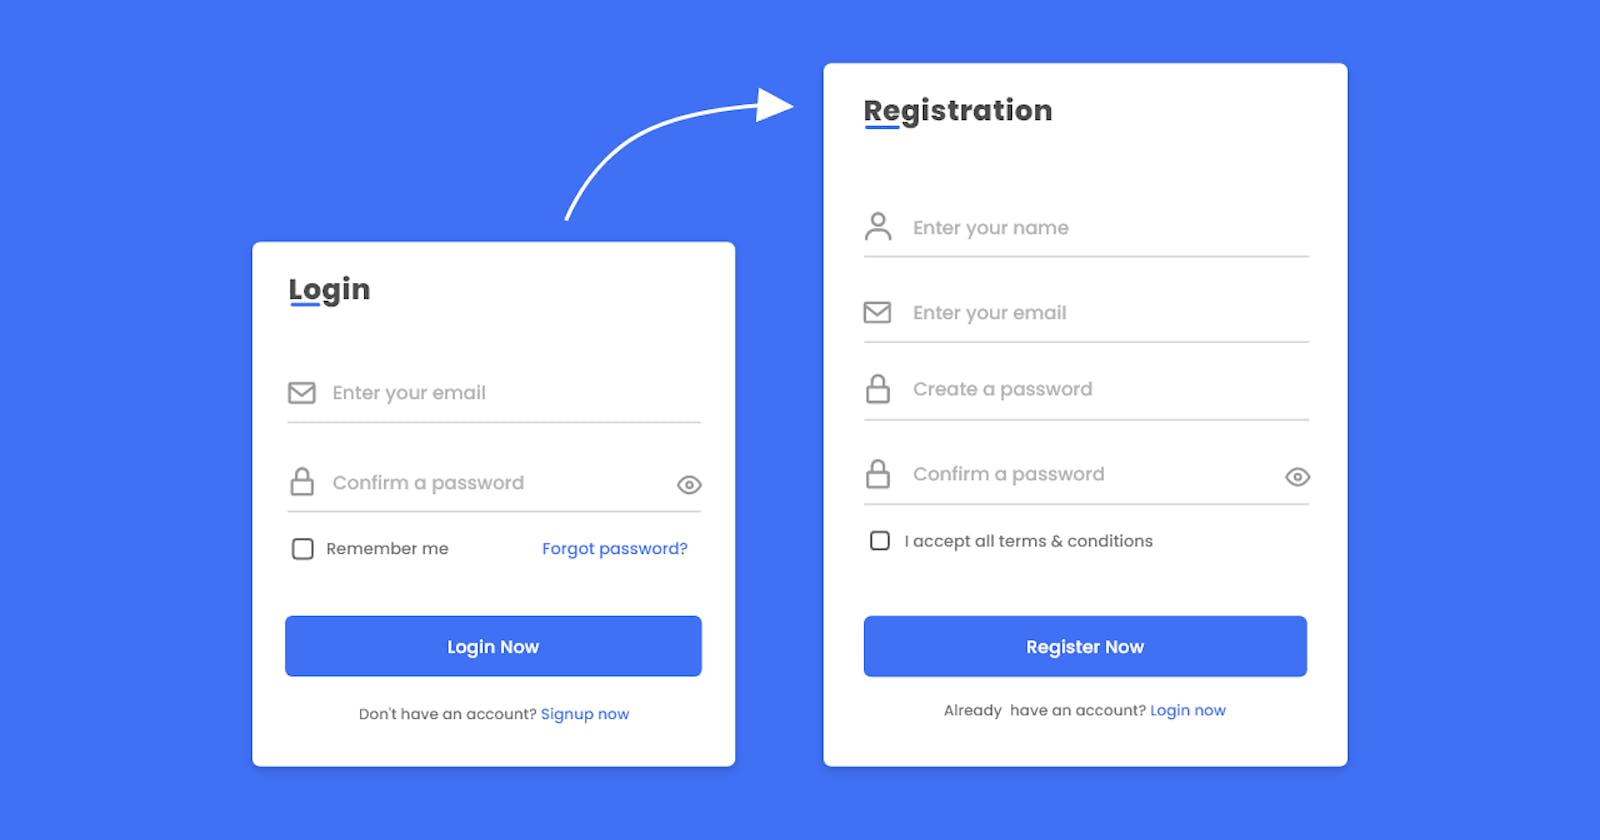
An authentication page is a web page that allows users to log in to a website. It typically consists of a username, password input field, and a submit button.
This blog post will show you how to create an authentication page using HTML, CSS, and JavaScript.
HTML
The HTML code for an authentication page is relatively simple. It consists of a form element with two input fields: one for the username and one for the password. The form is submitted to a URL that handles the authentication process.
Here is an example of the HTML code for an authentication page:
<html>
<head>
<title>Authentication Page</title>
</head>
<body>
<form action="/login" method="post">
<input type="text" name="username" placeholder="Username">
<input type="password" name="password" placeholder="Password">
<input type="submit" value="Login">
</form>
</body>
</html>
CSS
The CSS code for an authentication page can style the form elements and make the page look more attractive. Here is an example of the CSS code for an authentication page:
body {
  font-family: sans-serif;
  margin: 0;
  padding: 0;
}

form {
  width: 400px;
  margin: 0 auto;
}

input {
  width: 100%;
  padding: 10px;
  border: 1px solid #ccc;
}

input[type="submit"] {
  background-color: #000;
  color: #fff;
  cursor: pointer;
}
JavaScript
The JavaScript code for an authentication page can be used to validate the input fields and submit the form data to the backend endpoint. Here is an example of the JavaScript code for an authentication page:
const usernameInput = document.getElementById("username");
const passwordInput = document.getElementById("password");
const loginButton = document.getElementById("loginButton");

loginButton.addEventListener("click", function() {
  const username = usernameInput.value;
  const password = passwordInput.value;

  // Check if the username and password fields are empty.
  if (username === "" || password === "") {
    alert("Please enter a username and password.");
    return;
  }

  // Submit the form data.
  let formData = new FormData();
  formData.append("username", username);
  formData.append("password", password);

  fetch("/login", {
    method: "POST",
    body: formData
  })
    .then(response => response.json())
    .then(data => {
      // Check if the login was successful.
      if (data.success) {
        window.location.href = "/";
      } else {
        alert(data.message);
      }
    });
});
This is just a basic example of how to create an authentication page using HTML, CSS, and JavaScript. You can customize the code to fit your specific needs.
I hope this blog post was helpful. If you have any questions, please leave a comment below.
